Installation
The full loader walkthrough — system check to injection, with screenshots.
The loader is the only thing you install. It runs a quick system check, signs you in with your key, prepares a clean environment on first run, then injects the FC27 toolkit. Here is the whole flow, start to finish.
Step 1 — Download and run the loader
Grab the loader from your member dashboard and run it as administrator. It is encrypted and memory-resident, so antivirus heuristics may flag it even though it is clean — add it to your exclusions or pause real-time protection before launching.
Step 2 — System requirements check
On launch the loader verifies your PC is ready, checking your processor, Windows build, boot mode, virtualization, Secure Boot and memory-integrity settings.
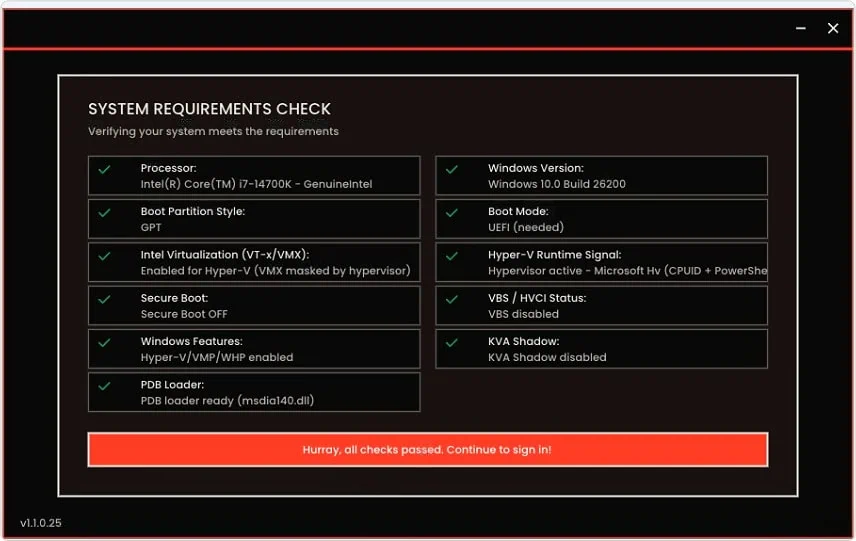
If a row shows red, fix it before continuing:
- Secure Boot must be off — disable it in your BIOS/UEFI.
- Virtualization (VT-x / AMD-V) must be on — enable it in BIOS.
- Core Isolation / Memory Integrity (VBS) must be off — turn it off under Windows Security, Device security.
When every row is green, continue to sign in.
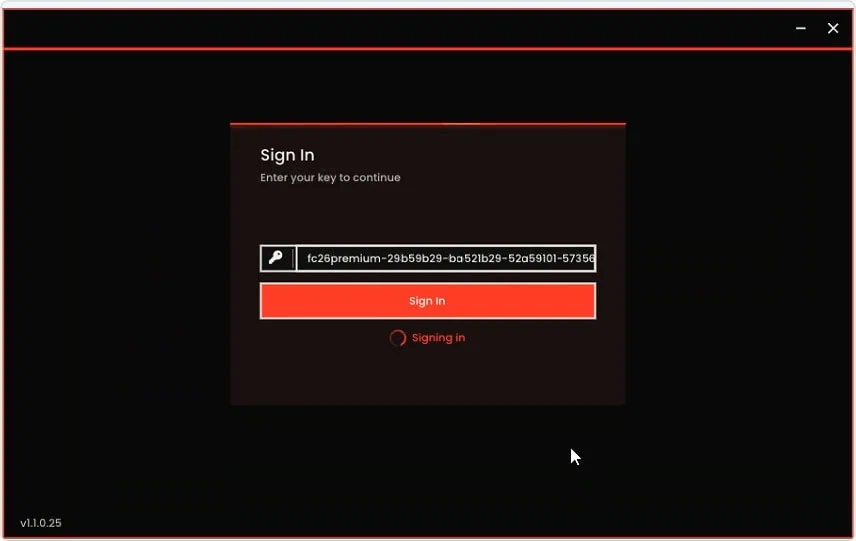
Step 3 — Sign in with your key
Paste the key from your dashboard and click Sign In.
Step 4 — First-run setup (one-time restart)
The first time you run the loader it prepares the environment for your machine, then asks you to restart your PC. This only happens once.
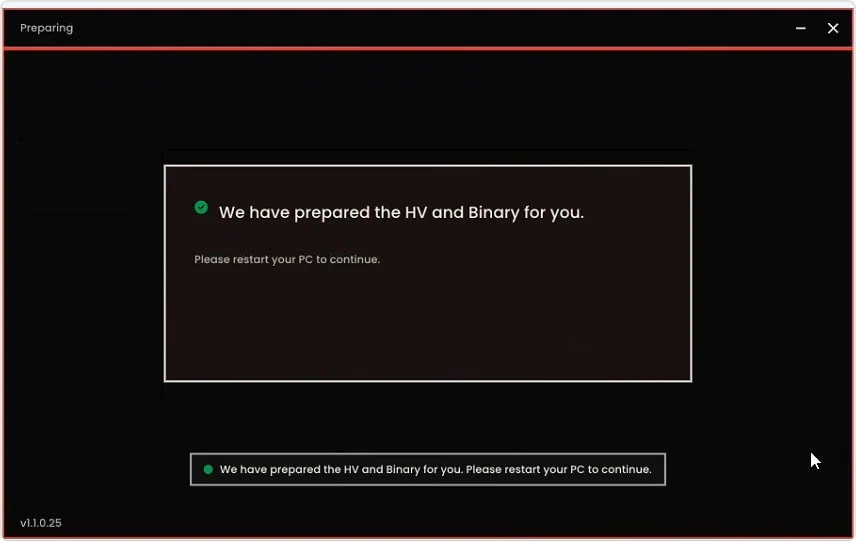
Restart, then open the loader again and sign back in.
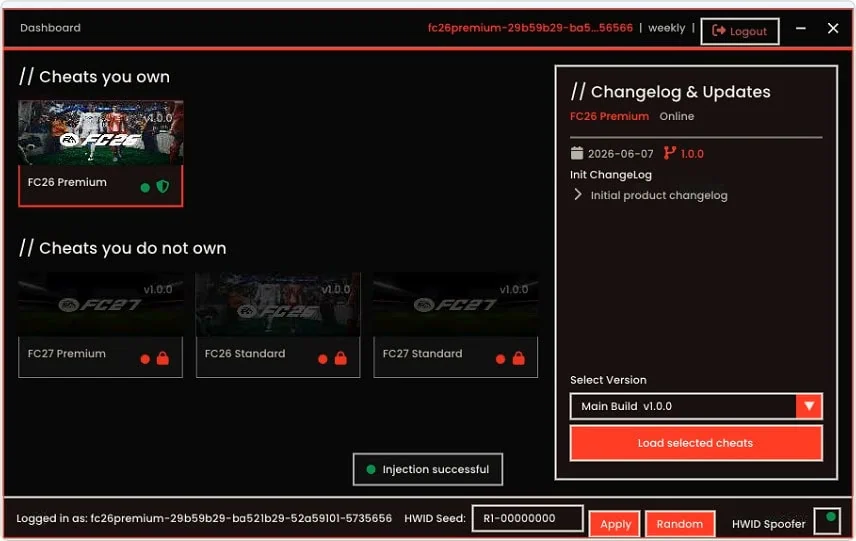
Step 5 — Load the toolkit
From the dashboard, pick the latest build under Select Version and hit Load selected cheats. Want a fresh hardware fingerprint? Set an HWID seed and click Apply first.
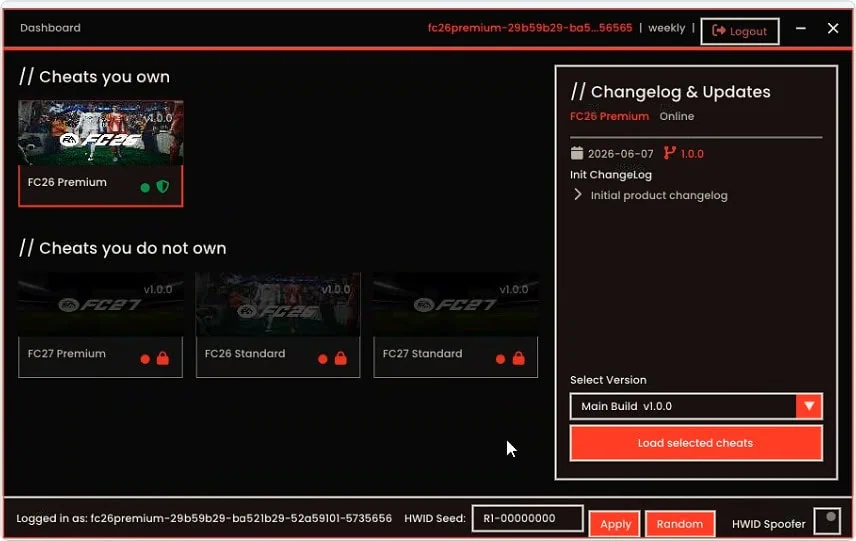
You will see Injection successful once the toolkit is live.
Step 6 — Launch and play
Start EA FC 27, then open the in-game overlay with the menu hotkey. Load a preset or tune the sliders for your mode and you are set. New here? The configuration guide walks through presets, and troubleshooting covers anything that snags.